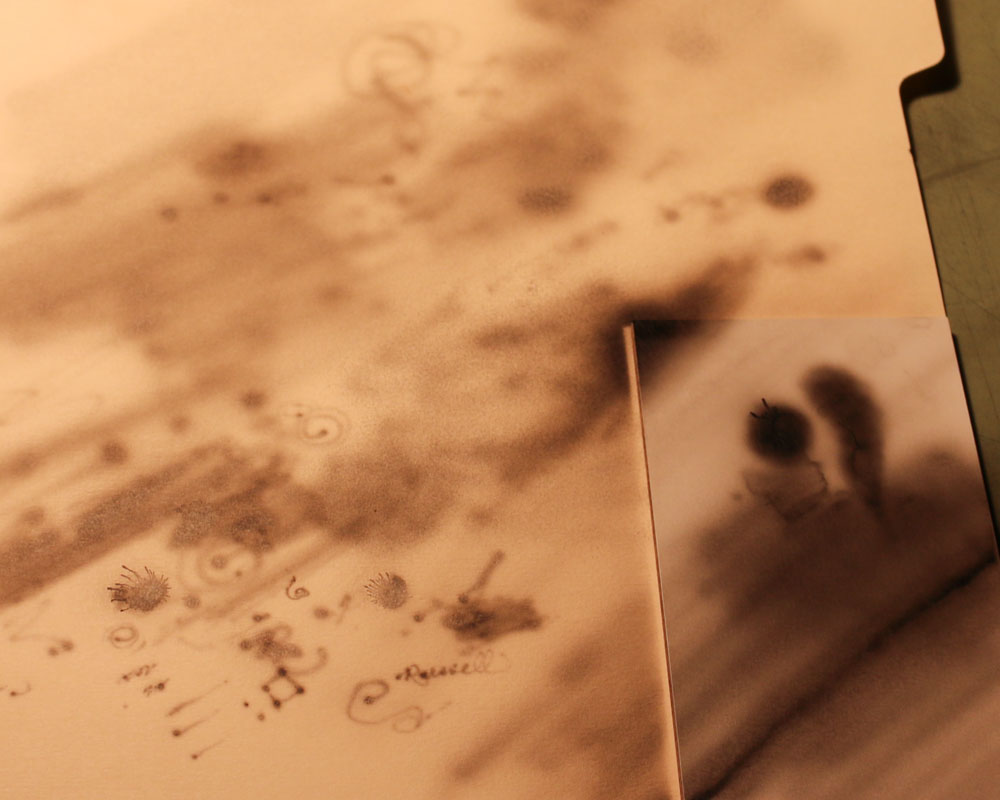
I found just a few minutes to experiment with the airbrush tonight. I first put straight water through the brush to get an idea of how it feels. When I was comfortable with the action, I emptied the water from the cup and wiped it out. I put several drops of Ampersand black ink (straight from the bottle) into the cup and started testing on a manila folder.
With about 20psi on the regulator I experimented with the MAC valve on the airbrush. By turning a little thumbscrew on the bottom of the airbrush you control the air pressure. Very handy.
As long as I was very patient I could get some fairly even gray patches. Building the ink up to solid black takes a while and it seemed I was prone to getting the area too wet. Then the ink would start to spider out. I probably had too much pressure and was working too close.
Dialing the pressure back gives a different pattern. Instead of laying down smoothly, the ink does a very fine spatter pattern. I really need to learn better control of the pressure.
But, even without being good at making solid blacks I can already see some very useful things the airbrush can do. Without much effort I can add a mist of gray to areas that may be overscratched, or that need to be pushed further back.
I used a little sample of Claybord when I got more comfortable with the brush. I made one corner a pretty solid black and made a gradient fade into white. As I got impatient I ran into more problems with spidering. The clay surface is harder and doesn’t absorb like the folder does. Airbrushing requires patience. My experiment looks pretty lame, but it was a very useful exercise.
When I scratched back into the airbrushed ink, I was pleased with the result. After a bit more practice and a better setup of my work area I will start working on something for real.


