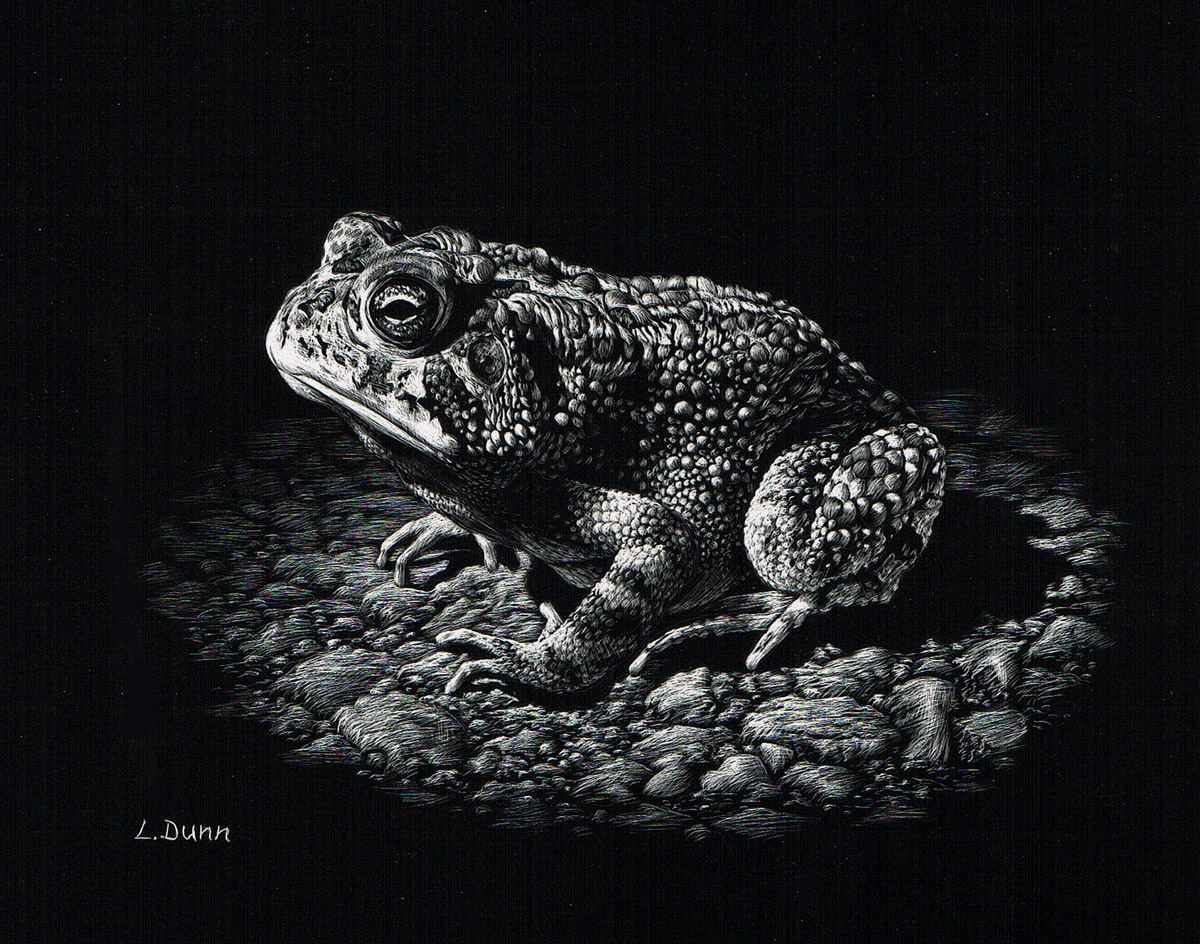
Mary Flock – wonderful scratchboard illustrations with great design and line variation

I first saw Mary Flock’s work around 1992 in Scratchboard for Illustration, by Ruth Lozner. Today I was searching for new scratchboard work to admire, and her name popped into my head. I found some really nice pieces from the late 80s (below).

The images on her website are disappointingly small, which is unfortunate. In my search I found her Facebook page and although I didn’t find any scratchboard work, her sketches and watercolors are simply amazing.

UPDATE:
The images aren’t showing up any longer, but trust me, they were nice. 🙂

A list of supplies to get started with scratchboard

A few people have asked me if I could suggest a list of supplies for getting started with scratchboard. I think I will post the information here.

  1. 3-pack of 5×7 Ampersand Scratchbord
    These are less than $8 at http://www.jerrysartarama.com. These boards are inexpensive, with a really nice surface. The size is small enough that it won’t take forever to finish.
  2. 1 package of Super Chacopaper
    This is the best transfer paper I’ve used. The lines go down just right – not too heavy, not too light. And, extra lines can be removed with a small, damp paintbrush.  Michael’s usually has Chacopaper for about $7 – less if you use their 40% off coupon.
  3. 1 X-acto knife with a #11 blade and a #16 blade
    You will want to have more than one blade per size. How often you change them out depends on how you work. I tend to buy boxes of 100, although they come in packages of 5. I suggest the two different blades to get used to the marks they make. Both blades are fairly easy to find. I haven’t priced knives or blades for a while, but they aren’t terribly expensive.
  4. 1 cheap ball point pen
    I use a very basic blue Papermate medium point for making transfers.
  5. Masking tape
    I use the tape to attach my drawing to the top edge of the board, like a hinge. This keeps the drawing from shifting while I’m doing my transfer, and it allows me to lay the drawing back down in the same position if I need to transfer more lines. I use either white artists’ masking tape, or green 3M masking tape because they are easy to remove when I’m done.
  6. Faber Castell Pitt Pen
    Mistakes happen, and the brush pen and size S are very useful for making corrections. They are also useful for crosshatching dark lines over light lines to create textures. I’ve used other pigment pens with good results, but the Pitt pens seem to make the color of the Ampersand ink and they don’t leave very shiny lines. I pat the corrected area with my finger to take the shine off. The last time I priced these pens they were a few dollars apiece

This would give you enough to get started. At least one of the boards would be for playing around with different scratch patterns and getting used to the surface of the board. The patterns you make really depend on your own personality and what you want to do. If you are looking for highly realistic work, you would probably end up using the #11 blade and working with finer lines to hold the details. If you want to do more illustrative work, the #16 makes bolder strokes easily. I generally start with the brightest areas first and work into the dark.

I remember being nervous to try scratchboard the first time. I think my best advice would be to forge ahead and just plan on ruining the first one while you figure out how it works. The 5×7 boards aren’t expensive so it’s not a big loss if you have to start over.

Mario Zucca – Scratchboard Illustrations with color

How Mario Zucca manages to say so much with so few lines is a testament to his talent. His illustration style is clear and easy to read, and his color works well. I would guess that the color is probably done digitally. On his website he has a series of portraits from his high school yearbook in scratchboard. They are quirky and fun to look at.

Several things about this image are worth mentioning. I love the textures on the surface of the table and the floor. They are made with rows of line segments. This gives more character to the surface than if the lines were totally straight and continuous. The lamp is another example of varied line treatments as it turns from dark to light.

Nicolas Delort : Harry & Dumbledore

Nicolas Delort does some impressive work. If you click the image it takes you to a visual tutorial of the process. It would be nice if there were some text to go with it. For this piece it looks like he started with a digital sketch that he refined and then traced onto white scratchboard. It looks like he first inked the major outline of the wave and then inked the rest of the surface with some kind of brush-tip marker. It also looks like he is doing quite a bit of line work with the pen in certain areas. Other parts are scratched. Some of his work is very reminiscent of Franklin Booth, which would make sense. Booth imitated etching patterns with pen and ink.

This image links to several other images, and the influence of Franklin Booth is very apparent – especially the clouds. I love the massive appearance of the spaceship. It’s retro and sort of scary and friendly at the same time.

My scratchboard tools

Faber Castell Pitt pens are the newest addition to the tools I use. I remembered someone suggested them on wetcanvas.com and wanted to try them. In the past I have used other brands of pigment pens to make repairs and create textures and patterns by crosshatching scratch lines with ink lines. They have worked great, but the ink has a shine to it that sometimes shows up even after spraying with a clear matte finish. I picked up a set of Pitt pens today and so far I am pleased with the results. I tend to lay down a few lines and then pat them lightly with my finger to dull the shine.

Faber Castell Pitt pens

My most recent knife is an Olfa art knife (yellow handle). I like the short blade. It seems to give me good control and very fine lines. The knife with the black handle has a #16 blade. It comes in handy for wider scratches. The scratch width can be varied by holding it at different angles to the surface. The thicker knife with the silver handle is what I have tended to use for very fine work. It holds a #2 blade – very similar to the smaller #11 blade (the most common Xacto blade)
scratchboard knives.

The tool with the blue handle can hold a knife blade or a sharp steel point. It is a weeding tool for working with vinyl lettering, but with just a bit of extra sharpening (600 grit sandpaper) it works well as a scratch tool.

point

Russ McMullin – Another work in progress – Batatakin Ruin

I got inspired by Scott Seibel’s work and decided to do some sandstone. I think I was 9 or 10 years old when I hiked to this ruin with my dad. I thought it would make a great subject for a scratchboard piece. This is a 5×7 Ampersand board. Most of it is rendered with an Olfa art knife that looks very similar to an Xacto knife. Some of the scratches are done with a #16 Xacto blade, which lets me do fairly wide strokes.

Betatakin WIP

UPDATE:

Betatakin WIP 2